I am determined to keep Sunday posts open on the blog for all things crafty. If it isn’t me, it will be one of the fabulous crafting people I have got to know over the last year. This week I’m really pleased to welcome two lovely ladies, Kim and Jacqui who are in the middle of setting up a fantastic new Etsy site called KJ Craft and Design. As soon as they are up and running I will be providing a link on the blog, so that you can see the wonderful crafts they have made.
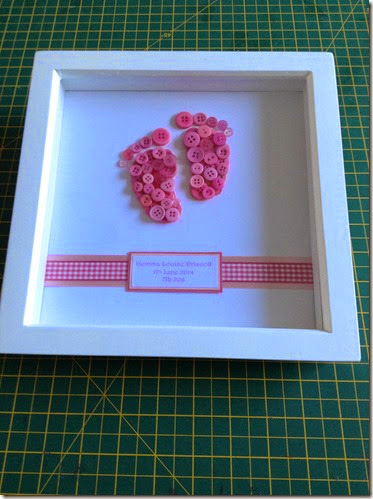
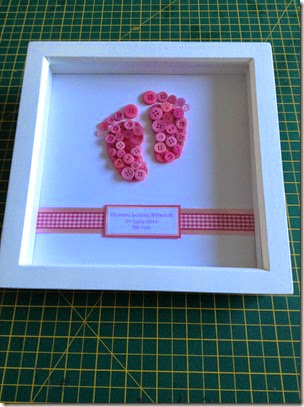
Last week I watched them create this gorgeous picture below and I asked them if they would be happy to write a post about it for the blog. With step by step instructions, they have made it easy for you to make one for yourself. Ideal for a nursery, or a gift for someone who has just given birth.
Materials needed
A4 white card (we used Canford card)
A4 Blush pink paper ( we used Canford)
A4 Bubblegum pink (we used Canford)
25 cm of pink gingham 15mm ribbon
25 cm of Azeala pink 25mm ribbon
1 pack of value pink buttons
8x8 inch deep white b ox frame
Glue gun
Double sided tape
Scissors
Ruler pencil
Computer and printer
A4 Blush pink paper ( we used Canford)
A4 Bubblegum pink (we used Canford)
25 cm of pink gingham 15mm ribbon
25 cm of Azeala pink 25mm ribbon
1 pack of value pink buttons
8x8 inch deep white b ox frame
Glue gun
Double sided tape
Scissors
Ruler pencil
Computer and printer
(All items can be purchased from Hobbycraft)
Instructions
1) Cut the A4 white card to fit the box frame.
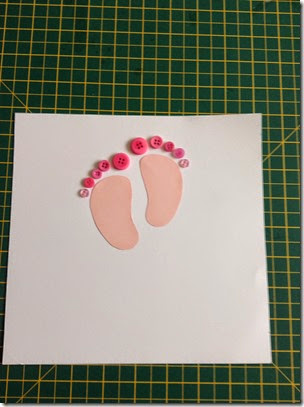
2.) Using a pencil, draw a outline of a pair of baby feet on to the light pink blush paper and cut out.
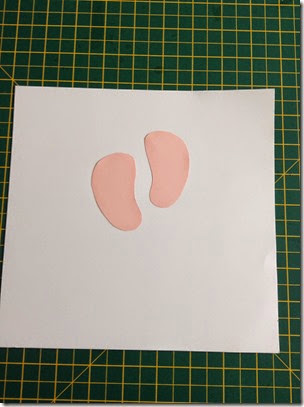
3) Stick both feet to the white card, using double sided tape. Remember to leave enough room for the baby toes.
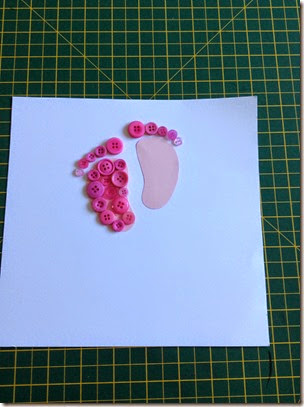
5) Using the hot glue gun, stick the buttons for the baby toes in place first, leaving a small space above the feet.
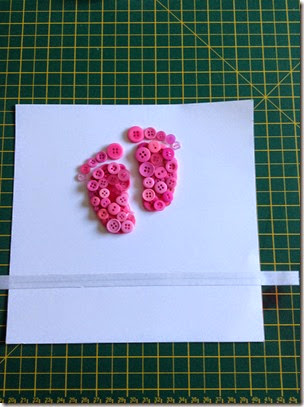
6) Stick the first layer of buttons on the rest of the feet , try to cover the pink as much as possible.
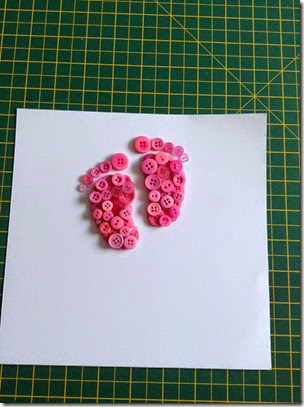
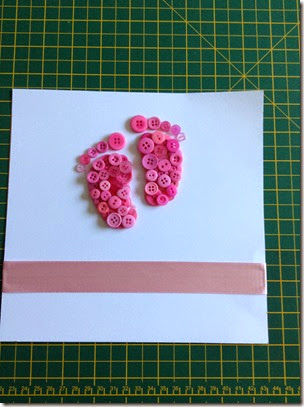
7) Now stick another layer of buttons, covering any spaces while trying to keep within the shape of the foot.
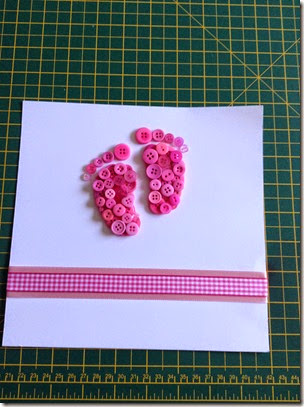
10) Now stick the gingham ribbon on the same way.
11) Using your computer, find a font you like and type and print in a shade of pink the text you want to add to your picture.
Isn’t that gorgeous? I would definitely have made a couple of these for my girls when they were little. Although it doesn’t have to be pink, you can do it in any colour you like.
Thank you to Kim and Jacqui from KJ Crafts, for a gorgeous picture. Look out for more designs from them in the future.


How incredibly lovely! I have a few (blogger) friends who have just had a baby or are expecting that this would be particularly nice for :)
ReplyDeleteAnd so easy to make!
Delete